Introduction
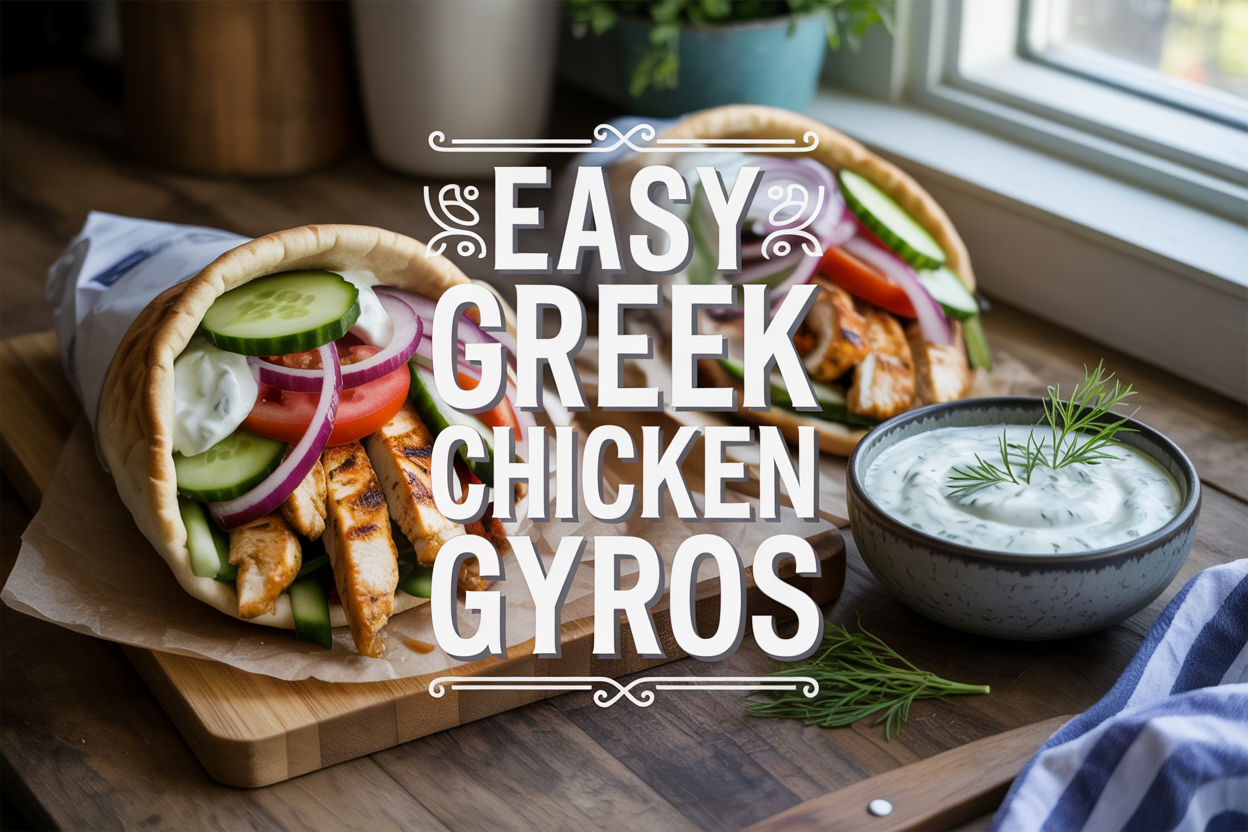
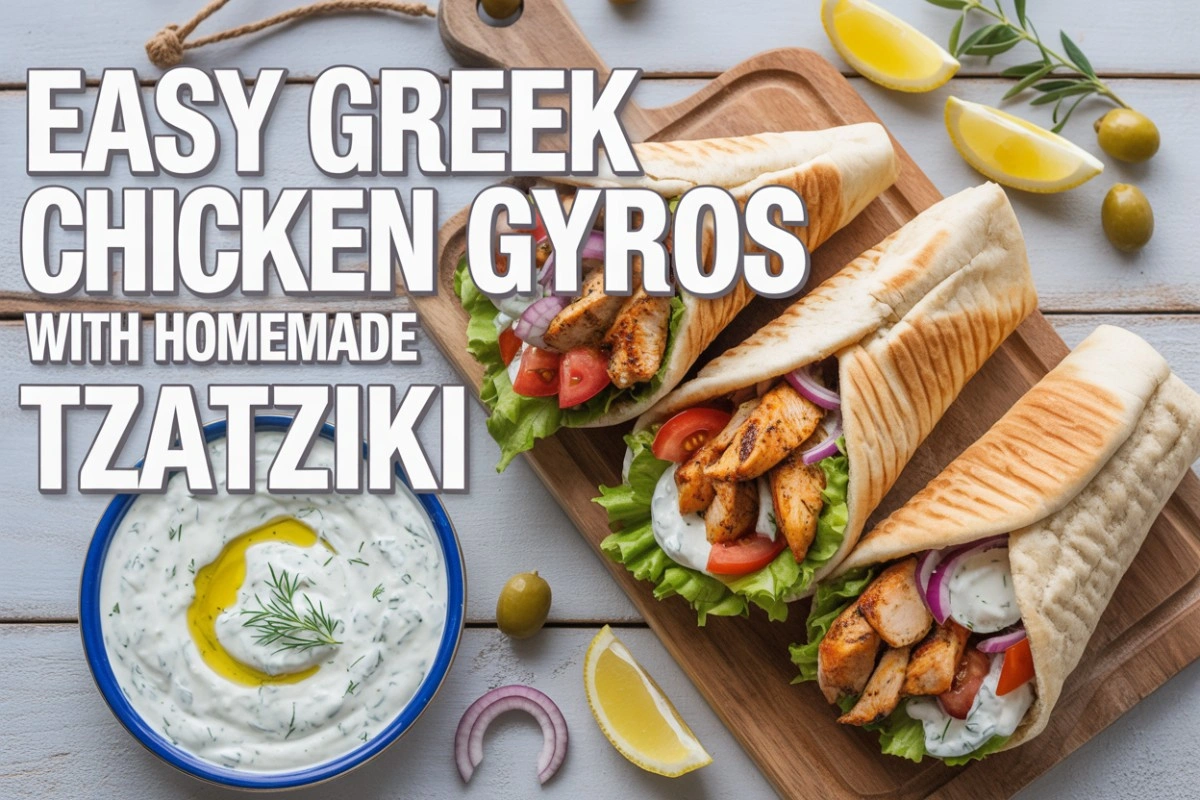
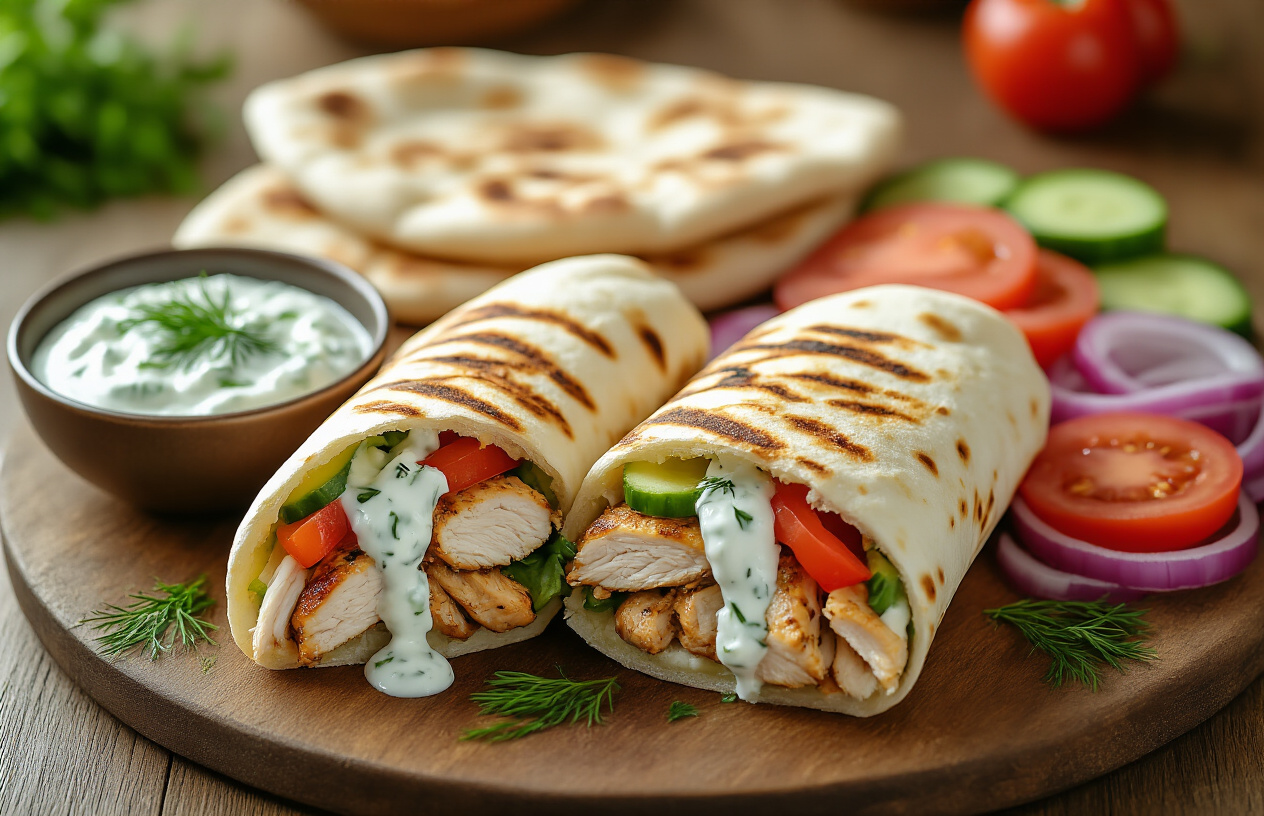
Craving authentic Greek flavors without the restaurant bill? These Easy Greek Chicken Gyros with Homemade Tzatziki bring the Mediterranean straight to your kitchen. Perfect for busy home cooks who want to impress family and friends with restaurant-quality meals using simple ingredients and techniques.
You’ll discover how to create the perfect Greek chicken marinade that locks in bold Mediterranean flavors and transforms ordinary chicken into tender, juicy perfection. We’ll also walk through making creamy homemade tzatziki sauce from scratch – it’s easier than you think and tastes infinitely better than store-bought versions. Finally, you’ll learn professional assembly techniques that ensure every bite delivers the perfect balance of warm spiced chicken, cool tzatziki, and fresh toppings wrapped in soft pita bread.
Essential Ingredients for Authentic Greek Gyros
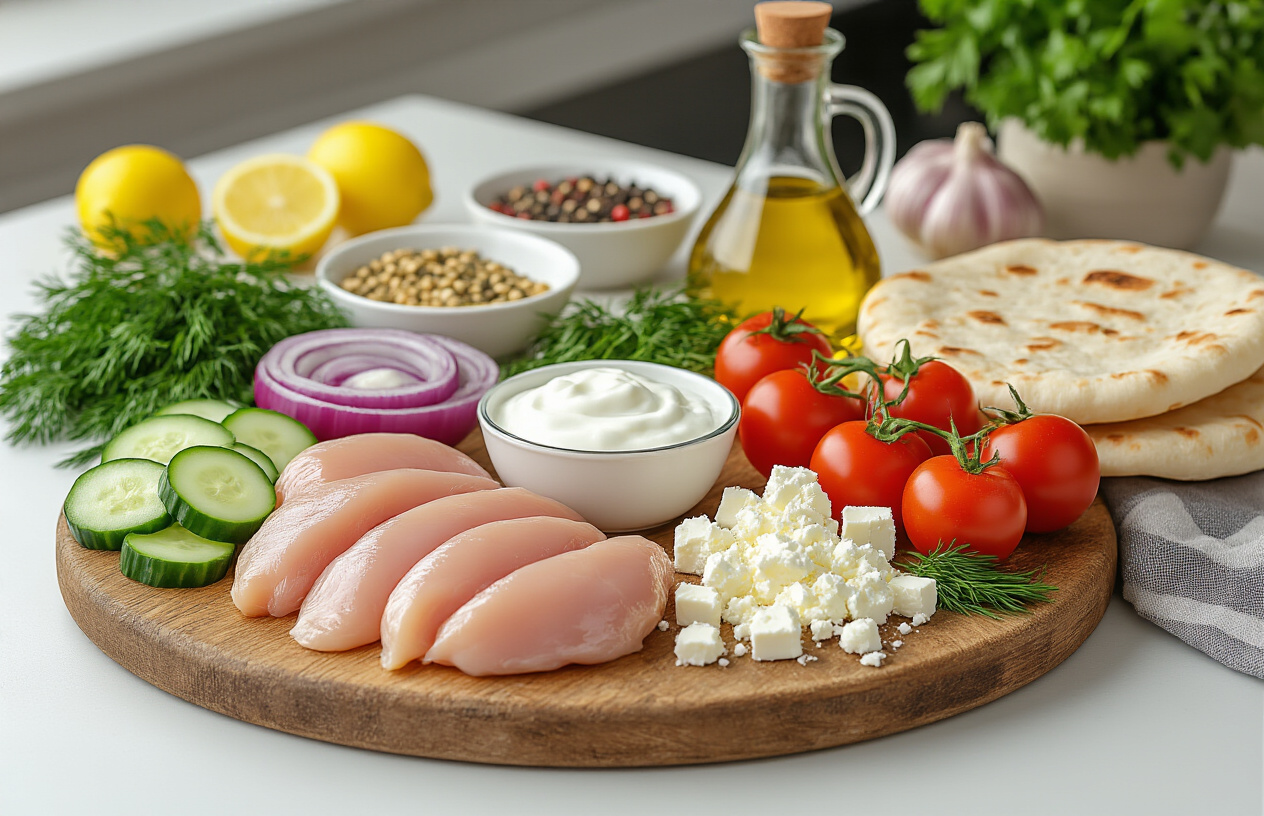
Premium chicken cuts that deliver maximum flavor
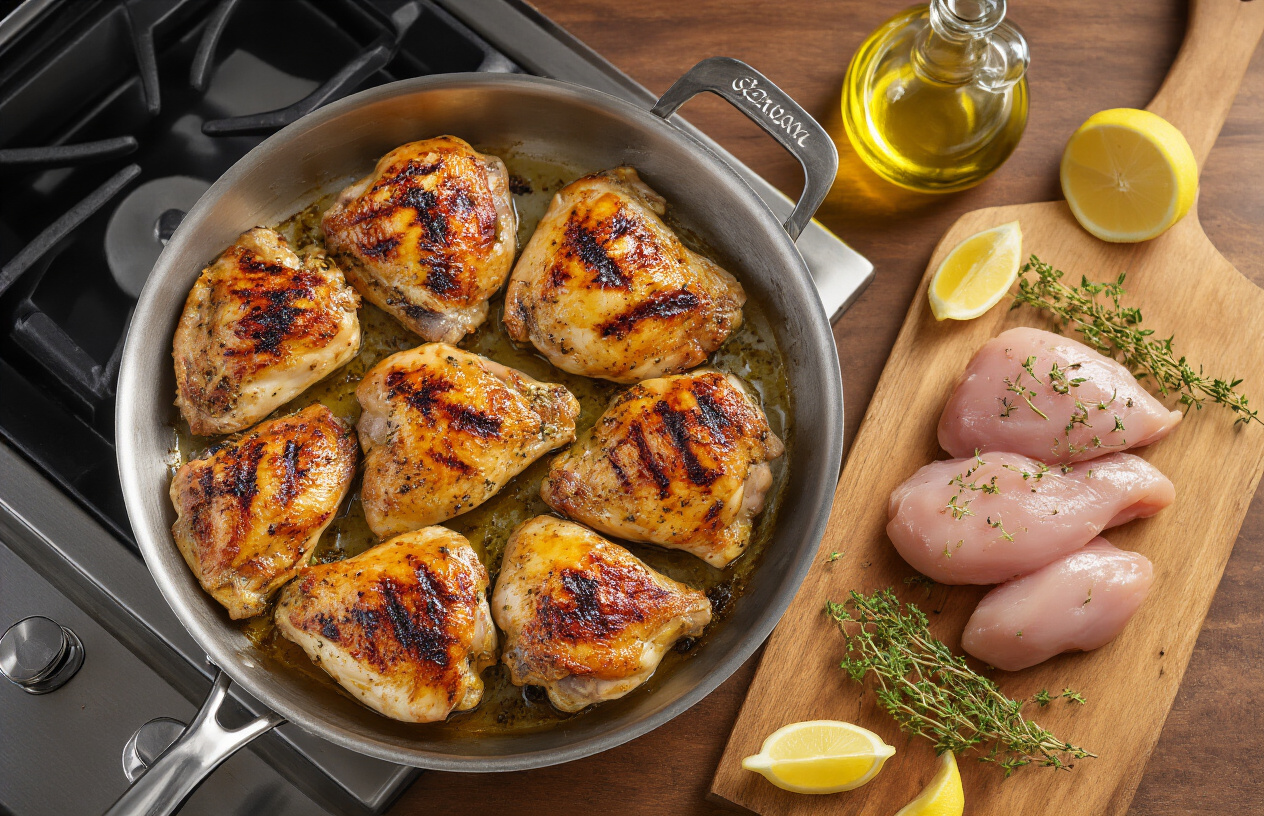
Boneless, skinless chicken thighs are your secret weapon for gyros that taste like they came straight from a Greek taverna. While many home cooks reach for chicken breasts, thighs pack more flavor and stay incredibly juicy even after marinating and grilling. The higher fat content means they won’t dry out, and they absorb the Mediterranean seasonings beautifully.
If you prefer white meat, chicken breasts work too, but pound them to an even thickness of about ¾ inch to ensure uniform cooking. Look for organic or free-range options when possible – the difference in taste is remarkable. For the most authentic experience, ask your butcher for chicken leg meat, which Greek restaurants often use for that rich, traditional flavor.
Traditional Greek seasonings and herbs
The soul of any great gyro lies in its seasoning blend. Start with dried oregano – not just any oregano, but Greek oregano, which has a more intense, almost floral flavor compared to regular varieties. Combine this with minced garlic, fresh lemon juice, and high-quality olive oil as your base.
Paprika adds a subtle smokiness and beautiful color, while ground cumin brings earthy depth. Don’t skip the dried thyme and rosemary, which create that distinctive Mediterranean aroma. Sea salt and freshly cracked black pepper are essential, but the real game-changer is adding a pinch of dried mint and a touch of ground coriander.
| Essential Spice | Flavor Profile | Amount per pound of chicken |
|---|---|---|
| Greek Oregano | Floral, intense | 2 tablespoons |
| Garlic | Sharp, aromatic | 3-4 cloves |
| Paprika | Sweet, smoky | 1 tablespoon |
| Cumin | Earthy, warm | 1 teaspoon |
| Thyme | Herbal, subtle | 1 teaspoon |
Fresh vegetables for the perfect crunch
Crisp vegetables provide the perfect contrast to tender, seasoned chicken. Red onions are non-negotiable – their sharp bite cuts through the rich flavors while adding beautiful color. Slice them paper-thin and soak in cold water for 10 minutes to mellow their intensity if desired.
Tomatoes should be ripe but firm, preferably Roma or beefsteak varieties that won’t make your gyro soggy. Remove the seeds and slice into half-moons for the best texture. Cucumber adds refreshing crunch – English cucumbers work best since they have fewer seeds and thinner skin.
Fresh parsley brings brightness and color, while crisp lettuce (iceberg or romaine) provides satisfying crunch. Some purists insist on including thinly sliced bell peppers and a few kalamata olives for extra Mediterranean flair.
Quality pita bread selection tips
Your pita bread can make or break the entire gyro experience. Look for thick, fluffy Greek-style pita that’s sturdy enough to hold generous fillings without tearing. Avoid thin, pocket-style pitas that work better for stuffing – you want pita that can be folded and wrapped.
Fresh pita from a Mediterranean market or bakery is ideal, but if using store-bought, check the ingredient list for natural preservatives and simple ingredients. The pita should feel soft and pliable, not dry or cracked. Before serving, warm the pita briefly on a dry skillet or directly over a gas flame to make it more flexible and enhance its flavor.
Master the Perfect Greek Chicken Marinade
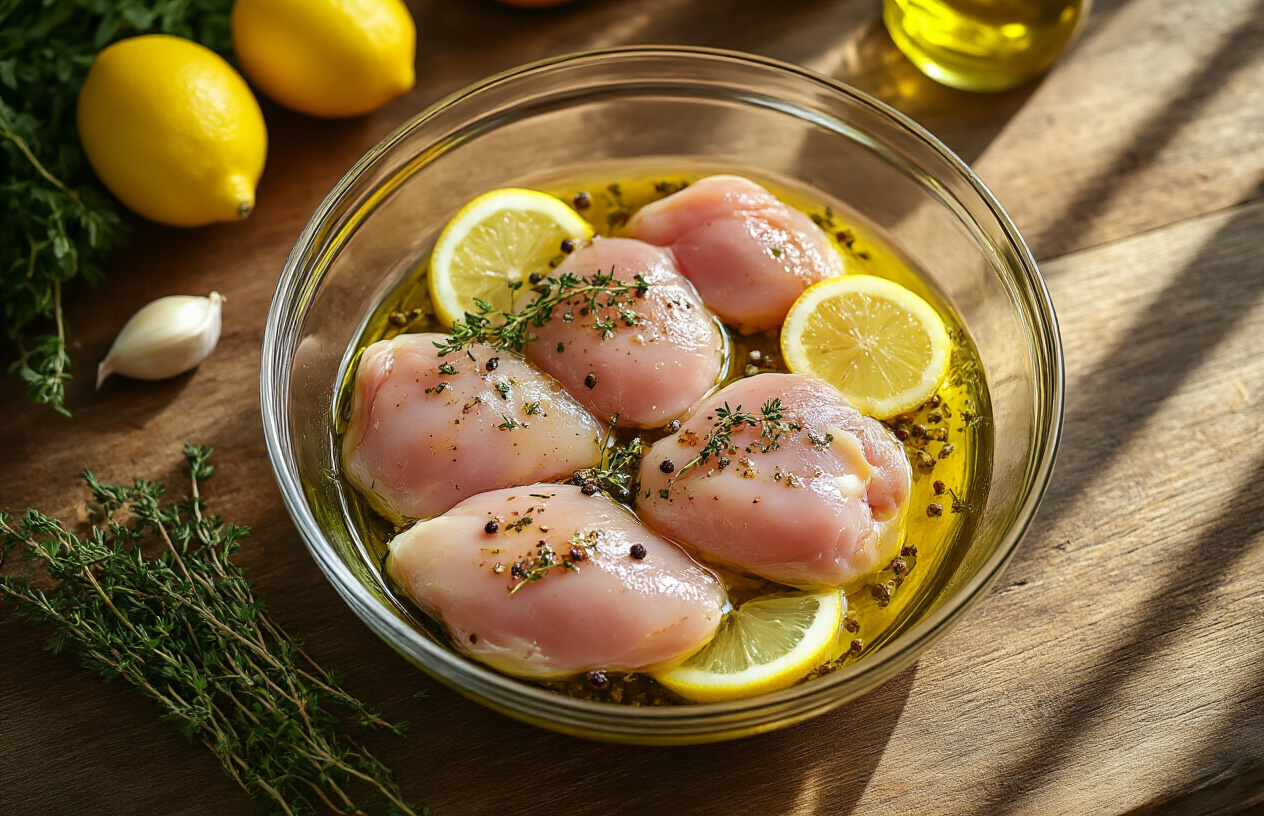
Create the ultimate lemon-herb marinade blend
The secret to authentic Greek gyros lies in a marinade that balances bright acidity with earthy Mediterranean herbs. Start with fresh lemon juice as your base – about 1/4 cup for every pound of chicken. The citrus doesn’t just add flavor; it begins breaking down protein fibers for tender meat. Add extra virgin olive oil in equal measure to carry fat-soluble flavors and create a protective coating during cooking.
Fresh oregano makes all the difference here. Skip the dried stuff and use 2 tablespoons of chopped fresh oregano, plus a tablespoon of fresh thyme. Garlic is non-negotiable – mince 4-5 cloves and let them infuse the oil. A teaspoon of ground cumin adds warmth, while smoked paprika brings subtle depth without overpowering the herbs.
Don’t forget the salt – kosher salt draws out moisture initially, then gets reabsorbed along with all those flavors. Add freshly cracked black pepper and a pinch of red pepper flakes for gentle heat. Some cooks swear by adding a splash of red wine vinegar for extra tang, but keep it minimal – just a tablespoon.
Achieve maximum flavor penetration with proper timing
Timing your marinade makes the difference between good chicken and restaurant-quality gyros. The minimum effective time is 2 hours, but the sweet spot is 4-6 hours. This window allows the acids and salt to work their magic without turning the exterior mushy.
For best results, marinate chicken overnight – up to 24 hours. The extended time allows flavors to penetrate deeper into the meat, creating consistent taste throughout each bite. Never exceed 48 hours, as prolonged acid exposure can create an unpleasant, mealy texture.
Room temperature matters too. Pull your marinated chicken from the fridge 30 minutes before cooking. This ensures even cooking and prevents the outside from overcooking while the inside stays cold.
Pro tips for tenderizing chicken to perfection
Choose chicken thighs over breasts for authentic gyros. Thighs stay moist during high-heat cooking and handle marinades better. If you must use breasts, pound them to even thickness – about 3/4 inch works perfectly.
Score the chicken lightly with a sharp knife, making shallow cuts against the grain. This breaks up tough fibers and creates channels for marinade penetration. Don’t go crazy – just a few strategic cuts will do.
The biggest mistake home cooks make is using too much acid or marinating too long. Both create stringy, tough meat that’s the opposite of what you want. Stick to the ratios and timing, and you’ll get juicy, flavorful chicken every single time.
Cook Restaurant-Quality Chicken at Home
Optimal Cooking Methods for Juicy Results
Pan-searing delivers the most consistent results for gyro chicken at home. Heat a heavy-bottomed skillet or cast iron pan over medium-high heat and add a thin layer of olive oil. The key is getting that initial sear to lock in the juices before the chicken finishes cooking through.
Grilling works beautifully too, especially if you’re cooking for a crowd. Preheat your grill to medium-high and oil the grates well to prevent sticking. The direct heat mimics the traditional vertical rotisserie cooking method used in Greek restaurants.
For batch cooking, try the oven method. Spread marinated chicken pieces on a rimmed baking sheet lined with parchment paper. This technique works great when feeding a large family or meal prepping for the week.
Pan-Searing Tips:
- Don’t overcrowd the pan – cook in batches if needed
- Let chicken develop a golden crust before flipping
- Use tongs instead of a fork to avoid piercing the meat
Grilling Guidelines:
- Create two heat zones for better control
- Keep a spray bottle handy for flare-ups
- Move chicken to cooler side if browning too quickly
Temperature Control for Food Safety and Taste
Getting the temperature right makes the difference between dry, overcooked chicken and juicy, restaurant-quality meat. Invest in a good instant-read thermometer – it’s your best friend for perfect results every time.
Chicken thighs should reach 175°F internally, while chicken breast needs to hit 165°F. Don’t rely on visual cues alone, especially when you’re learning. The thermometer takes the guesswork out of the equation.
Start checking the temperature about 2-3 minutes before you think the chicken might be done. The temperature will continue rising slightly after you remove it from heat, a process called carryover cooking.
| Cut | Target Temperature | Rest Time |
|---|---|---|
| Thighs | 175°F | 3-5 minutes |
| Breast | 165°F | 3-5 minutes |
| Mixed pieces | 165-175°F | 5 minutes |
Room temperature chicken cooks more evenly than cold chicken straight from the fridge. Take your marinated chicken out 15-20 minutes before cooking to take the chill off.
Achieving the Perfect Char and Seasoning Crust
The signature char on gyro chicken comes from high heat and patience. Don’t rush the browning process – that golden, slightly crispy exterior is where most of the flavor lives.
Pat the chicken completely dry before cooking, even if it means removing some marinade. Excess moisture creates steam instead of the sear you’re after. The marinade flavors have already penetrated the meat, so you won’t lose taste.
Season with a pinch of coarse salt right before cooking for extra crust development. The salt draws out surface moisture and helps create that coveted golden-brown exterior.
Char Technique Steps:
- Heat pan until it just starts smoking
- Add oil and swirl to coat
- Place chicken skin-side down first
- Don’t move for 4-5 minutes
- Check for golden color before flipping
Watch for the Maillard reaction – that’s the chemical process creating the beautiful brown color and complex flavors. You’ll know it’s happening when you hear that satisfying sizzle and smell the aromatic compounds developing.
Resist the urge to press down on the chicken with your spatula. This squeezes out the precious juices you’ve worked so hard to preserve.
Craft Creamy Homemade Tzatziki Sauce
Select the best yogurt for authentic texture
Greek yogurt stands as the cornerstone of exceptional tzatziki, but not all varieties deliver the same results. Full-fat Greek yogurt creates the richest, most luxurious texture that mirrors what you’d find in authentic Greek tavernas. The higher fat content prevents the sauce from becoming watery and provides that signature creamy mouthfeel.
Look for yogurt labeled “Greek-style” or “strained yogurt” with at least 10% fat content. Brands like Fage, Chobani Whole Milk Greek, or Oikos Triple Zero work beautifully. Avoid regular yogurt, as its thinner consistency will dilute your tzatziki into a watery mess.
If you can only find low-fat Greek yogurt, strain it yourself by placing it in cheesecloth or a fine-mesh strainer over a bowl for 2-3 hours. This extra step removes excess whey and concentrates the flavors.
Prepare cucumber for maximum freshness
Cucumber preparation makes or breaks your tzatziki’s consistency. English cucumbers work best because they have fewer seeds and thinner skins, but regular cucumbers work fine with proper preparation.
Start by washing and peeling your cucumbers completely. Cut them lengthwise and scoop out the seeds with a spoon – these watery centers will turn your tzatziki into soup. Grate the cucumber using the large holes of a box grater or pulse briefly in a food processor.
The secret lies in removing excess moisture. Place the grated cucumber in a clean kitchen towel or several layers of paper towels. Sprinkle with half a teaspoon of salt and let it sit for 15 minutes. The salt draws out water naturally. Then, twist the towel tightly and squeeze firmly over the sink – you’ll be amazed at how much liquid comes out. This step prevents your beautiful tzatziki from becoming a watery disappointment.
Balance garlic and herbs for perfect flavor
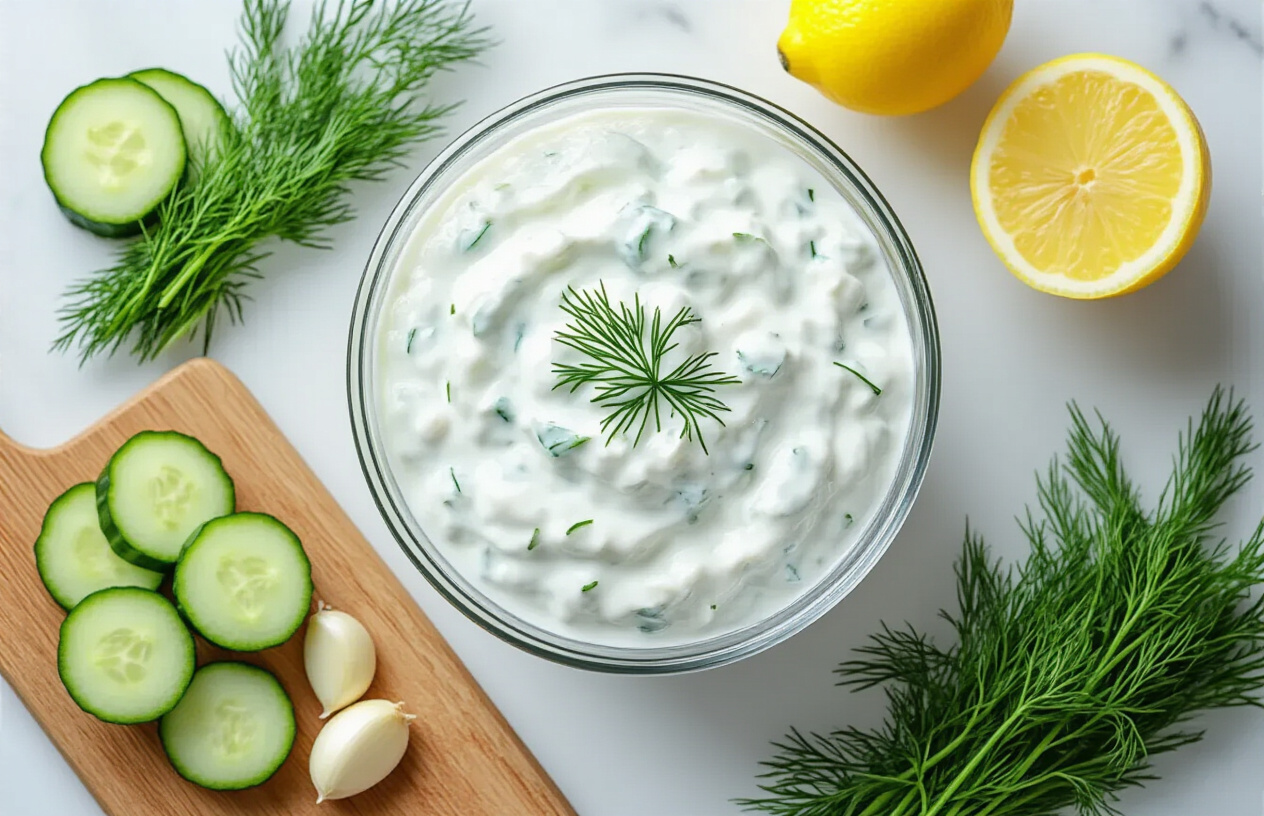
Fresh garlic delivers the authentic punch that tzatziki demands, but raw garlic can overwhelm if not handled properly. Start with 2-3 medium cloves for every cup of yogurt. Mince the garlic as finely as possible, then sprinkle it with a pinch of salt and use the flat side of your knife to crush it into a paste. This technique mellows the harshness while maintaining that signature bite.
Fresh dill is non-negotiable for authentic tzatziki. You’ll need about 2 tablespoons of chopped fresh dill per cup of yogurt. Dried dill simply doesn’t provide the bright, grassy notes that make tzatziki sing. If fresh dill isn’t available, fresh mint makes a lovely substitute and is common in some Greek regions.
Add a tablespoon of fresh lemon juice for brightness, and a drizzle of good extra virgin olive oil for richness. Taste and adjust – some prefer more garlic bite, others want extra herbs. The beauty of homemade tzatziki lies in customizing it to your palate.
Storage techniques to maintain freshness
Proper storage keeps your tzatziki fresh and flavorful for up to five days. Transfer the finished sauce to an airtight container, pressing plastic wrap directly onto the surface before sealing. This prevents a skin from forming and keeps air from dulling the fresh flavors.
Store in the coldest part of your refrigerator, typically the back of the main compartment. The sauce actually improves after a few hours as the flavors meld together, making it perfect for meal prep.
Never freeze tzatziki – the yogurt base separates when thawed, creating an unappetizing texture. If liquid separates during storage, simply stir it back in before serving. A quick taste test before serving lets you adjust seasoning if needed, as flavors can mellow over time.
Assemble Your Gyros Like a Pro
Warm and prepare pita bread properly
The secret to professional-quality gyros starts with perfectly warmed pita bread. Skip the microwave entirely – it turns pita rubbery and creates uneven hot spots. Instead, heat a dry skillet over medium heat and warm each pita for 30-45 seconds per side. The bread should become soft and pliable without getting crispy or brittle.
For even better results, lightly brush the pita with olive oil before heating. This creates a subtle barrier that helps prevent moisture from seeping through later. You can also warm pita directly over a gas flame using tongs, rotating constantly for 10-15 seconds per side. This method adds a subtle smoky flavor that complements the Mediterranean ingredients beautifully.
Keep warmed pitas wrapped in a clean kitchen towel while you prepare the other components. This maintains their flexibility and warmth without overcooking them. Never stack hot pitas directly on top of each other without a towel barrier, as they’ll stick together and tear when separated.
Layer ingredients for optimal taste distribution
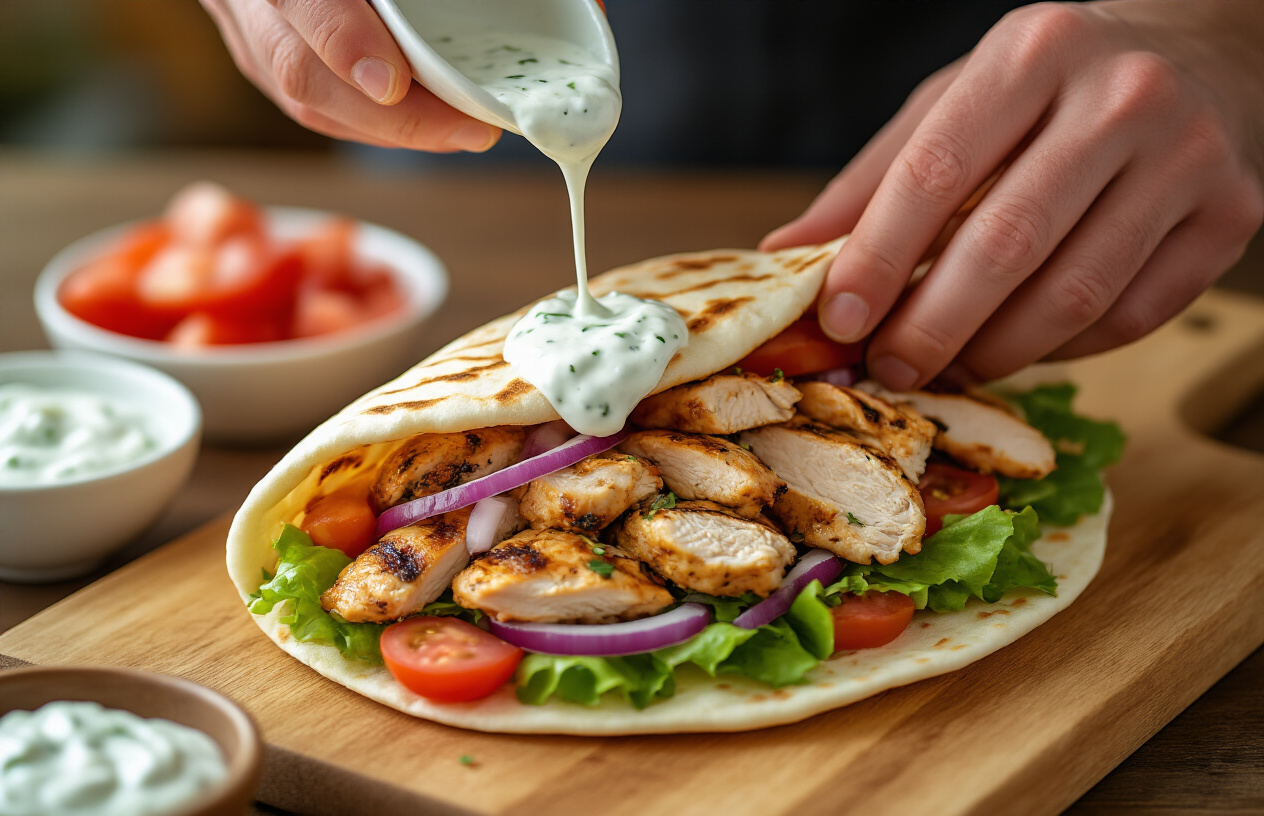
Strategic layering makes the difference between a mediocre gyro and restaurant perfection. Start with a generous spread of tzatziki directly on the warm pita – this creates your flavor foundation and acts as a moisture barrier. Spread it evenly, leaving about an inch border around the edges.
Next, add your sliced chicken in a single layer down the center third of the pita. Don’t pile it all in one spot; distribute it evenly to ensure every bite contains protein. Follow with diced tomatoes, red onion, and cucumber arranged alongside the chicken rather than on top. This prevents the vegetables from sliding around inside the wrap.
Finish with a light sprinkle of crumbled feta cheese and a few fresh herbs like dill or oregano. The herbs should go on last so their flavors remain bright and don’t get buried under other ingredients. This layering order ensures each component maintains its distinct taste while harmonizing with the others.
Prevent soggy wraps with smart assembly tricks
Nobody wants a soggy gyro falling apart in their hands. Pat all ingredients completely dry before assembly – especially tomatoes and cucumbers, which release significant moisture. Use paper towels to absorb excess liquid from freshly cut vegetables.
Create a moisture barrier by placing lettuce leaves directly against the pita after spreading tzatziki. The lettuce acts like a natural shield, protecting the bread from wet ingredients while adding satisfying crunch. Choose crisp varieties like iceberg or romaine rather than delicate greens that wilt quickly.
Roll your gyro tightly but not aggressively. Start from the bottom, fold in the sides slightly, then roll upward while maintaining gentle pressure. Wrap the finished gyro in parchment paper or aluminum foil, twisting the bottom to create a secure base. This wrapping technique keeps everything contained while allowing easy one-handed eating.
Serve immediately after assembly, or wrap tightly and refrigerate for up to 2 hours. Any longer and even the best assembly tricks won’t prevent moisture from compromising the pita’s texture.
Serving Suggestions and Flavor Pairings
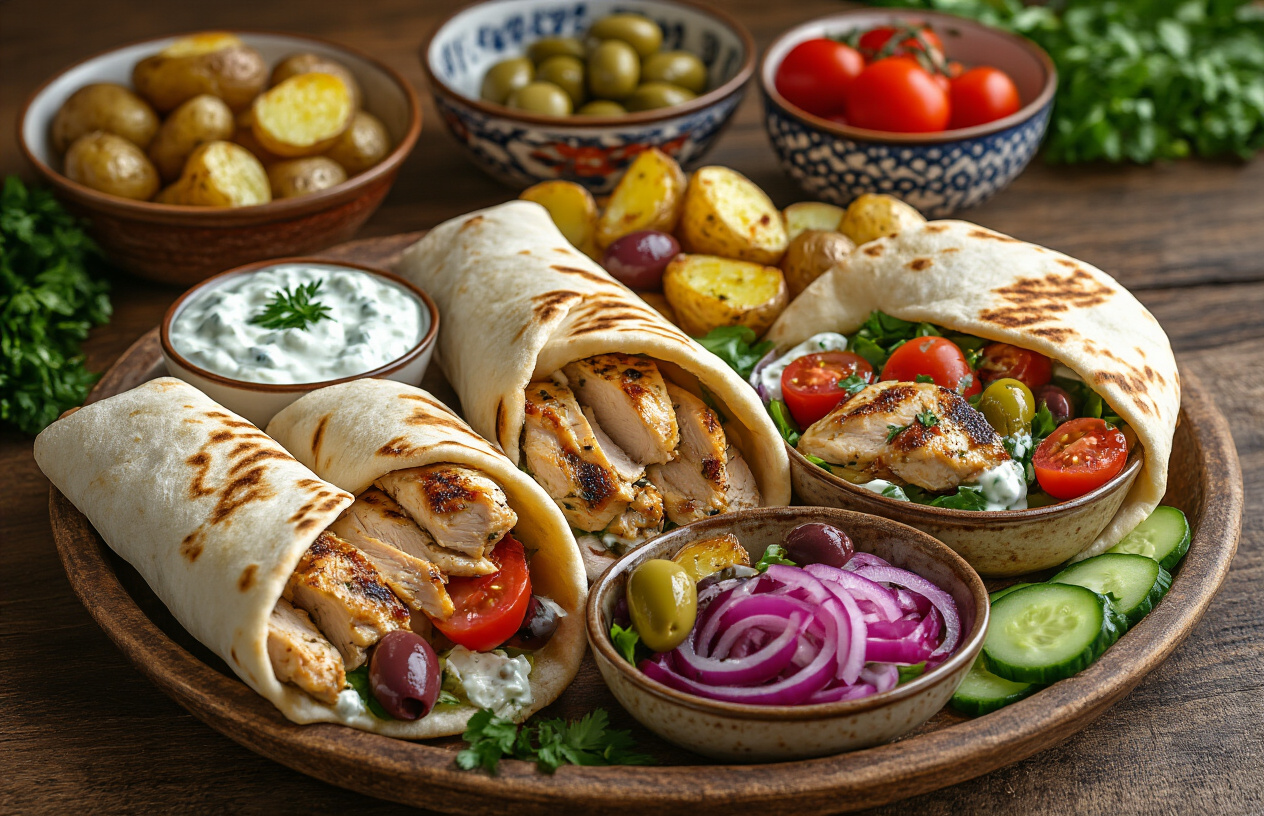
Traditional Greek side dishes that complement gyros
Greek lemon potatoes are the perfect partner for your homemade gyros. These crispy-outside, fluffy-inside potatoes get roasted with olive oil, lemon juice, and oregano until golden brown. The tangy citrus flavor cuts through the rich meat and creamy tzatziki beautifully.
A simple Greek village salad (horiatiki) brings fresh crunch to your meal. Combine chunky tomatoes, cucumbers, red onions, green peppers, and Kalamata olives. Top with thick slabs of feta cheese and dress with olive oil, red wine vinegar, and dried oregano. Skip the lettuce – authentic Greek salad never includes it.
Warm dolmades (stuffed grape leaves) add Mediterranean flair to your spread. Whether you make them from scratch or grab some from the deli, these rice-stuffed parcels provide a nice textural contrast to the soft pita and tender chicken.
Greek-style green beans (fasolakia) braised in tomato sauce make another excellent side. The beans cook slowly with onions, garlic, and fresh herbs until they’re melt-in-your-mouth tender.
Creative variations to customize your meal
Transform your basic gyros into exciting new creations with these simple swaps. Replace chicken with lamb, beef, or pork for different flavor profiles. Marinated shrimp or grilled halloumi work great for seafood and vegetarian options.
Switch up your wraps beyond traditional pita bread. Try naan, lavash, or even large flour tortillas. For a low-carb option, use butter lettuce leaves or serve everything over cauliflower rice.
Create a gyros bowl by layering ingredients over quinoa, rice, or mixed greens. This presentation works especially well for meal prep and makes portion control easier.
Add different vegetables to change the flavor profile. Roasted red peppers, pickled red onions, or fresh mint leaves each bring something special to the party. Sun-dried tomatoes or artichoke hearts can add Mediterranean depth.
Experiment with sauce variations. Mix harissa into your tzatziki for heat, add fresh dill for extra herby flavor, or create a yogurt-based sauce with different herbs like cilantro or parsley.
Make-ahead tips for quick weeknight dinners
The chicken marinade actually improves with time, so prep your meat up to 24 hours in advance. This longer marinating time develops deeper flavors and makes weeknight cooking a breeze.
Tzatziki sauce keeps beautifully in the refrigerator for up to four days. Making a double batch on Sunday means you’ll have plenty for multiple meals throughout the week. Just give it a quick stir before serving since separation is natural.
Cook your chicken in larger batches and store leftovers in the fridge for up to three days. Cold sliced gyros meat makes fantastic additions to salads, grain bowls, or quick lunch wraps.
Prep your vegetables in advance by washing, chopping, and storing them in airtight containers. Diced tomatoes, sliced onions, and shredded lettuce stay fresh for several days when properly stored.
Warm pita bread can be wrapped in damp paper towels and stored in the refrigerator, then quickly reheated in the microwave for 15-20 seconds. This saves time during busy weeknight assembly.
Consider making gyros meat on weekends using a slow cooker or Instant Pot. These methods require less hands-on time and create incredibly tender, flavorful results that reheat perfectly for quick dinners all week long.
Making authentic Greek chicken gyros at home really comes down to getting the basics right. The key is starting with a solid marinade that packs plenty of Mediterranean flavor, cooking your chicken just right so it stays juicy, and whipping up that creamy tzatziki from scratch. When you take the time to make each component properly, you’ll get restaurant-quality results that’ll have everyone asking for seconds.
Don’t be afraid to make these gyros your own by experimenting with different toppings or serving them alongside your favorite Greek sides. The beauty of this recipe is that once you master the marinade and tzatziki techniques, you can prep everything ahead of time for easy weeknight dinners or weekend gatherings. Fire up your kitchen and treat yourself to these incredible homemade gyros – your taste buds will thank you.